

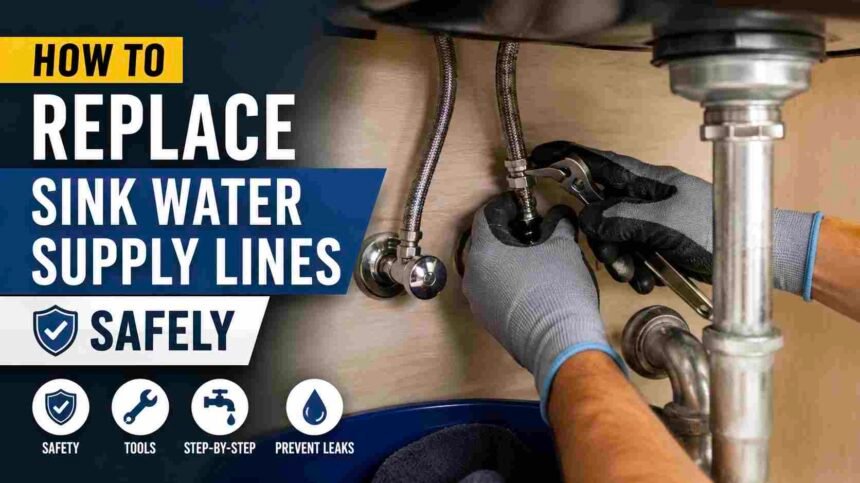
You don’t really notice these lines. They sit under the sink, out of the way, and for years nothing happens. No sound. No sign. Then one day you reach in—maybe for something else—and your fingers hit a damp patch. Not wet. Just… not dry.
You wipe it. Close the cabinet. Forget about it.
Then later, for no real reason, you check again.
Still there.
That’s usually when it shifts from “probably nothing” to something you can’t quite ignore anymore. It’s easy to miss at first.
Why You May Need to Replace Sink Supply Lines
Supply lines don’t fail in a way that announces itself.
They drift into problems.
At first everything looks normal. Then small things start showing up, and even then you’re not sure they matter. A bit of rust near the fitting. Maybe the line looks slightly off. Or maybe you’re just noticing it now.
It’s not obvious. You don’t really notice it until you do.
Time plays a role. Five years, ten—somewhere around that range, they start losing reliability. Not all at once. Just gradually. You don’t get a clear moment where things change.
And once it starts, it keeps going.
Installation matters too. A line that was slightly twisted or tightened more than it should’ve been might sit there for years without issues. Then one day it leaks, and it feels random.
It isn’t.
You just didn’t see it building up.
What people usually notice first is small:
- moisture near the connection
- a line that doesn’t sit quite the same
- light corrosion around the ends
- or just realizing it’s older than expected
None of this feels urgent. That’s why it gets pushed off.
Tools and Materials You’ll Need
Before starting, gather what you need.
You don’t need much.
An adjustable wrench. A bucket or towel. A new supply line that fits your setup. Plumber’s tape if you decide to use it.
That’s enough.
People expect this to be more involved than it is. It isn’t.
Safety Steps Before You Start (VERY IMPORTANT)
This part is simple. Still gets rushed.
Turn off the shut-off valve under the sink. Fully. Not halfway. Keep turning until it stops.
Then open the faucet. Let the remaining water run out. It only takes a few seconds.
Put something underneath before loosening anything. Because water will come out. It always does.
Skipping this doesn’t break anything. It just creates a mess you didn’t need.
Step-by-Step Guide to Replace Sink Supply Lines
This is where people expect it to get complicated. It doesn’t. It just feels awkward.
You’re under the sink, trying to angle your hands around fittings that don’t give you much room. It’s not difficult. Just uncomfortable enough to slow you down.
Start by checking the valve again. Then loosen the supply line. Valve side first, then the faucet. A small amount of water will drip out. Not much. Still enough to notice.
If the fitting doesn’t move easily, don’t force it. That instinct—just pushing harder—usually creates a bigger problem. Small turns. Pause. Try again.
It comes loose. Once it’s off, you’ll probably look at the old line and think it doesn’t look that bad. That’s common. Most of them don’t look damaged. They just aren’t reliable anymore.
Before installing the new one, check the threads. Sometimes they’re clean. Sometimes there’s old tape or buildup you didn’t notice before. Wipe it anyway.
Now the new line. Start at the faucet. Hand-tight first. If it doesn’t thread smoothly, stop. Back it out. Try again. Then connect the valve side. Once both ends feel snug, use the wrench slightly. Not much.
These fittings seal with washers, not pressure. Which sounds simple, but people still tighten too much. Too tight can actually cause leaks.
Turn the water back on slowly. Watch the connections. Then check again. Don’t just look—run your fingers along the fittings. Sometimes you feel it before you see it. If there’s a drip, tighten slightly.
Common Mistakes to Avoid
Most problems come from small decisions. Overtightening is one. It feels right. It isn’t.
Using the wrong size line is another. It might seem like it fits, but it doesn’t sit properly.
Skipping the leak check happens more than people admit.
Reusing an old supply line seems fine at the time. It usually isn’t.
How to Choose the Right Replacement Supply Line
This part seems simple, but not always the case. Length matters. Too short and you’re forcing it into place. Too long and it sits awkwardly.
Somewhere in between works.
Connector size is usually 3/8” or 1/2”. Matching what you already have is the safest option.
Material matters too.
Braided stainless steel tends to hold up better. Less chance of sudden failure. It just feels more reliable. Using a high-quality braided supply line reduces the risk of leaks. That’s really the point.
When to Call a Professional
Sometimes things don’t behave the way they should.
The valve doesn’t shut off completely. The fitting won’t loosen. Or something just looks off and you can’t quite explain why. That’s usually when it’s better to stop. This is a simple job when everything behaves normally. When it doesn’t, it isn’t.
Frequently Asked Questions
Can I replace sink supply lines myself?
Yes. Most people can. It’s more about patience than anything else.
How long does it take to replace a supply line?
Usually around 20–30 minutes. Maybe longer the first time.
What size supply line do I need?
Most setups use 3/8” or 1/2”. Best to check your existing line instead of guessing.
Should I use plumber’s tape?
Not always necessary. Many supply lines seal with built-in washers, but tape can help.
Conclusion
It’s not complicated.
Turn off the water. Remove the old line. Clean the connection. Install the new one. Check for leaks. That’s it.
The difference is in how you do it. Not rushing. Not forcing things. Paying attention to small details that don’t seem important at first.
Nothing visible changes.
But it prevents the kind of problem you don’t want later.